Sau một thời gian lăn lộn với ARM chạy Linux thì mình rút một số kinh nghiệm xương máu sau đây:
1. Bo mạch ARM tích hợp rất nhiều thành phần I/O như: bluetooth, NFC, vân tay, wifi, cpu, màn hình cảm ứng, gpu, iio-sensor v.v.. Nên việc khởi chạy mà không có quạt tản nhiệt thì rất dễ treo máy, đặc biệt trên điện thoại và máy tính bảng
2. Nói Linux bào phần cứng dễ hư là đúng một nửa, vì nếu thiết lập đúng thì máy chạy ngon, nhiệt độ toả ra không gây hại nhiều cho thiết bị và linh kiện. Nên Linux không có tội, tội là thiết lập chưa đến mức an toàn, khi bạn cài linux chạy được thì nó chạy mặc định theo thiết lập PC chứ không phải thiết bị di động, cần phải tinh chỉnh nhiều thứ ...
Bây giờ, chúng ta vào khái niệm của Linux quản lý xung của nhân.
powersave
conservative
performance
interactive
ondemand
userspace
Đầu tiên là "powersave", mức thiết lập an toàn bảo vệ hệ thống, bạn có đặt min/max khác nhau, nó vẫn chạy ở min làm căn chuẩn. Ví dụ viết câu lệnh trong $ nano /etc/rc.local như sau
#!/bin/bash
cpufreq-set --cpu 0 -d 475000 -u 1300000 -g powersave
Thì linux chỉ chạy ở 475000 hz
"conservative" là powersave và có thể chạy max xung 1300000 hz, khi không có tác vụ nào thì nó hạ xung về 475000 hz
cpufreq-set --cpu 0 -d 475000 -u 1300000 -g conservative
Quảng cáo
"performance" ngược lại với powersave, luôn chạy max xung 1300000 hz
cpufreq-set --cpu 0 -d 475000 -u 1300000 -g performance
"interactive" chính là performance nhưng xung nhịp có thể thay đổi trong khoảng max/min
cpufreq-set --cpu 0 -d 475000 -u 1300000 -g interactive
"ondemand" cho linux tự động điều chỉnh xung nhịp, người dùng không cần quan tâm, chạy trên ARM không có tản nhiệt rất dễ quá nhiệt và treo máy
"userspace" người dùng thiết lập commandline hoặc trên phần mềm để chạy 1 xung cụ thể
Quảng cáo
Để ARM chạy tốt trên Linux, ta chỉ cần dùng powersave và conservative. Nhưng mặc định thường linux dùng "ondemand", nên phải disable ondemand bằng lệnh
$ sudo update-rc.d ondemand disable
hoặc:
$ sudo systemctl disable ondemand
$sudo rm -rf /etc/systemd/system/multi-user.target.wants/ondemand.service
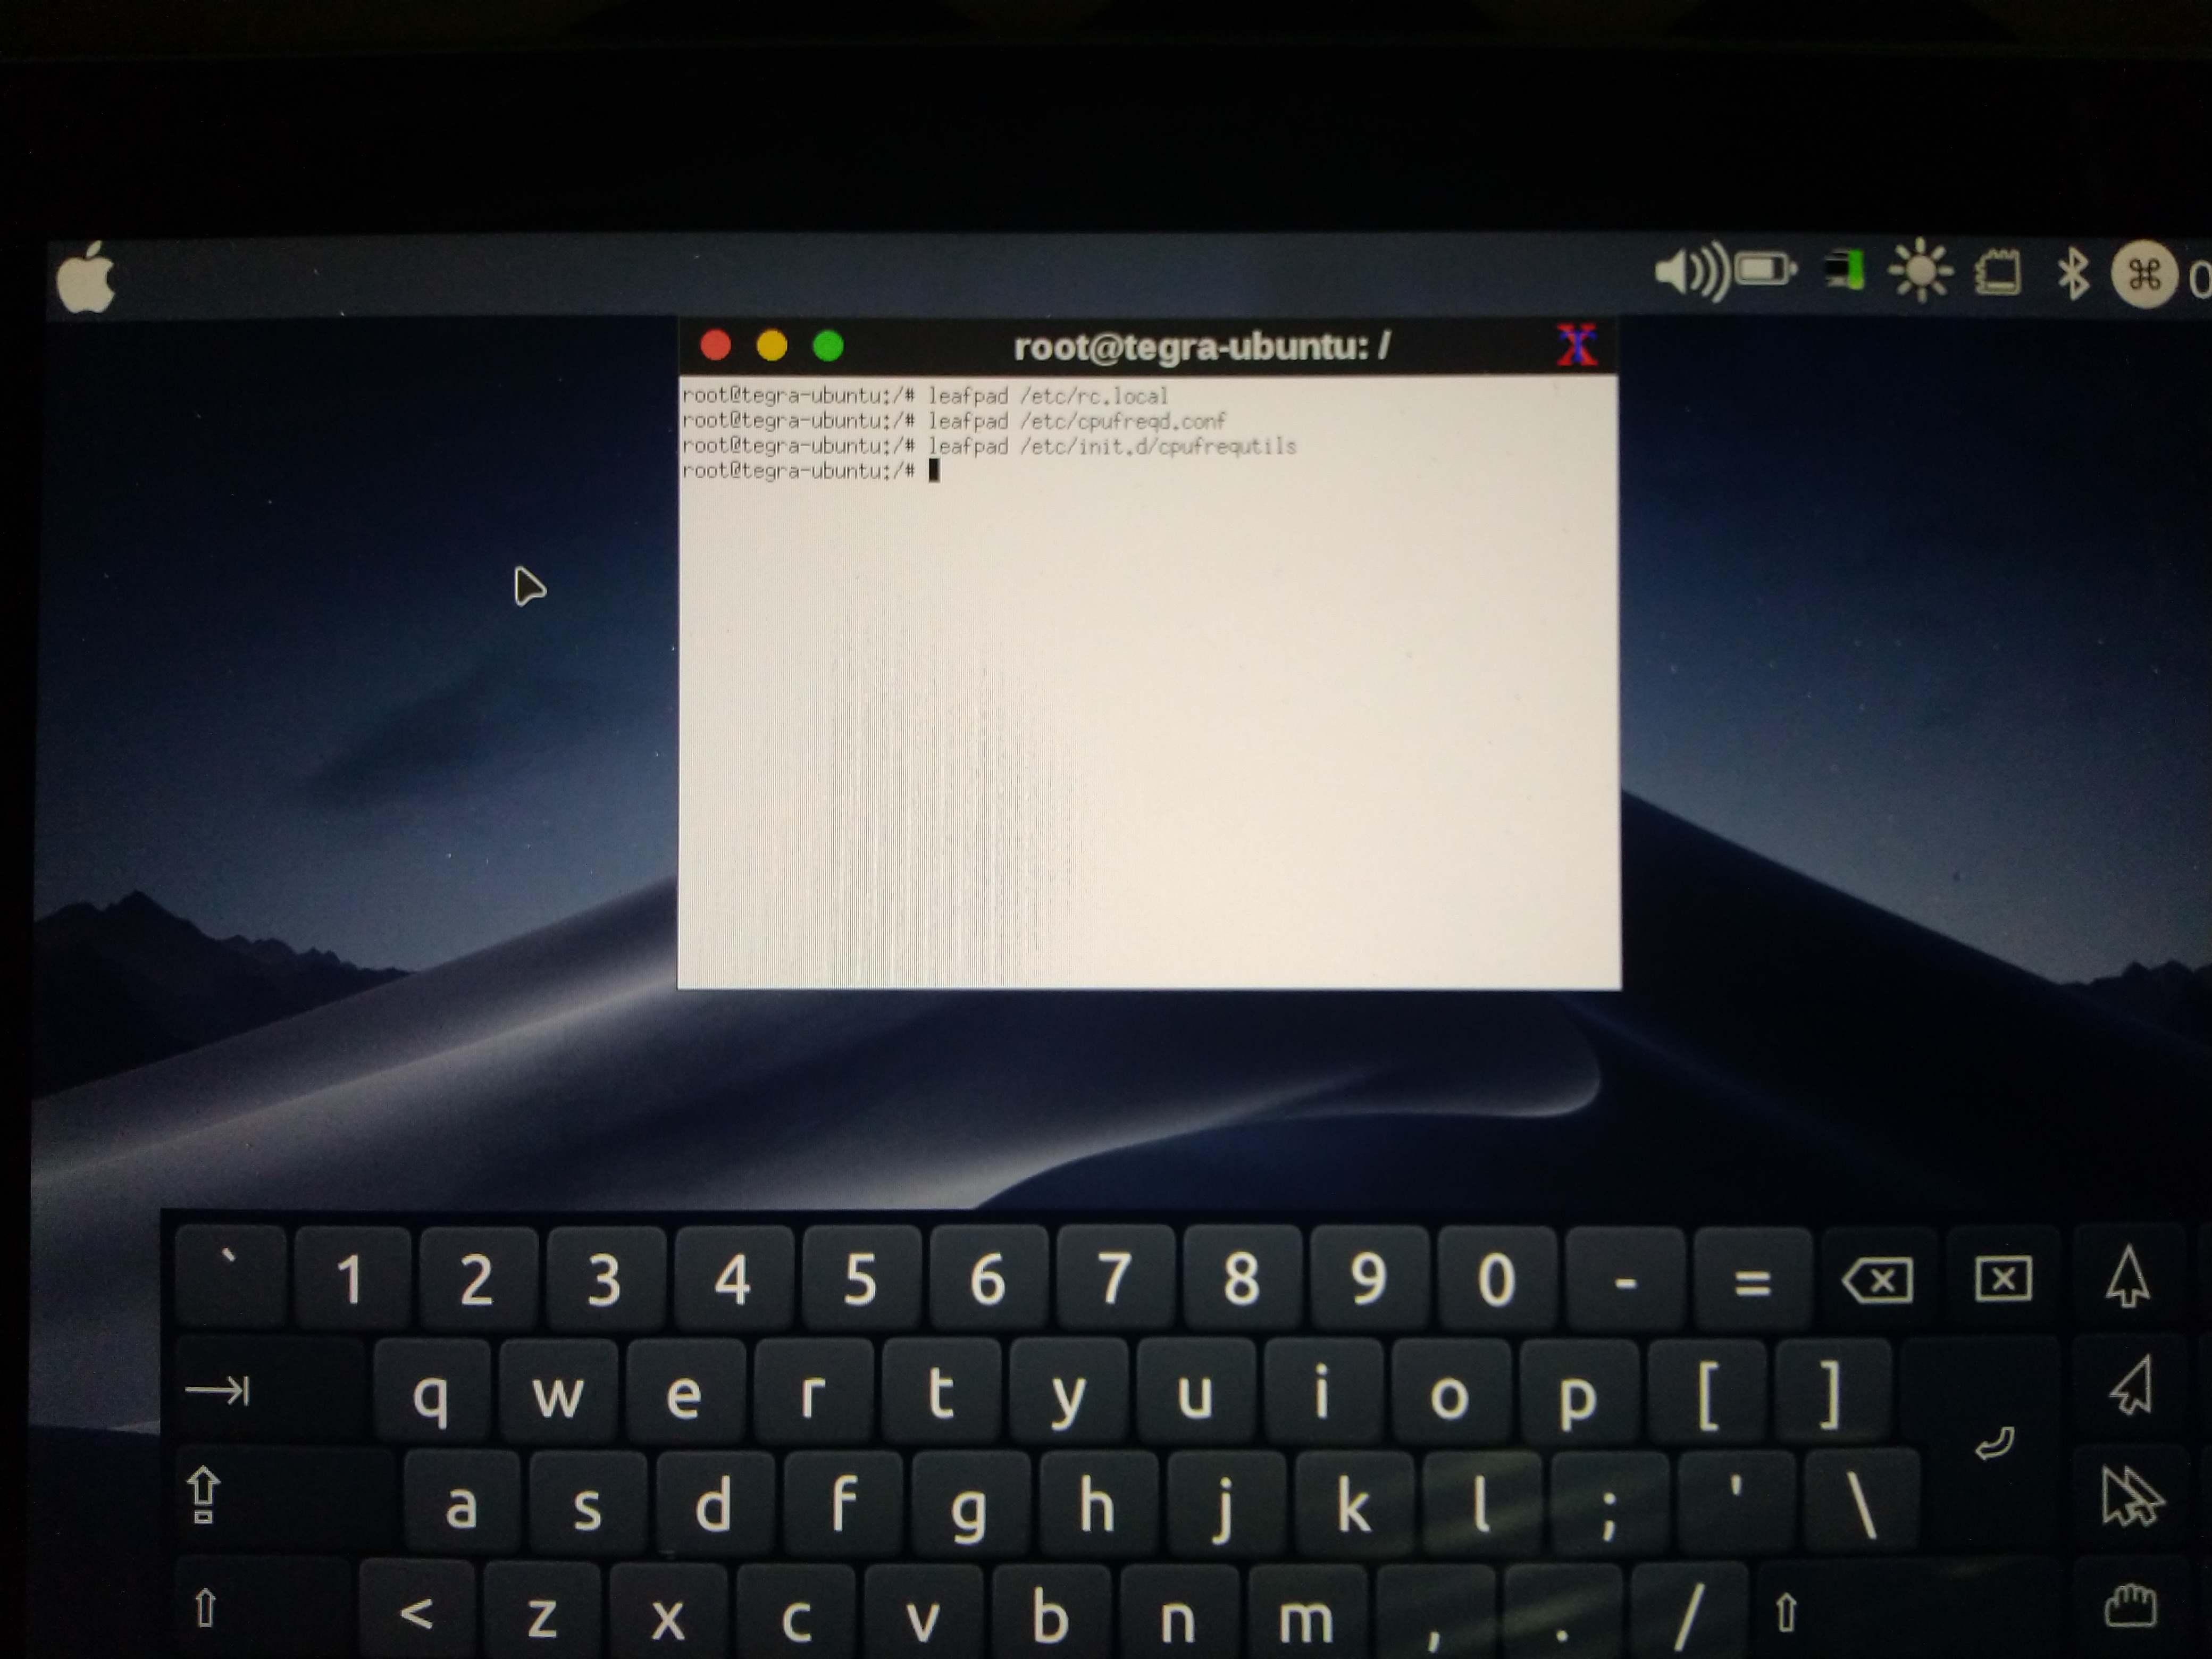
Cài cpufrequtils và cpufreqd và quan tâm các file rc.local, cpufreqd.conf, cpufrequtils
/etc/rc.local
/etc/cpufreqd.conf
/etc/init.d/cpufrequtils
Thông thường các tập lệnh gọi cpu trên ARM rất khác nhau tùy theo hãng, có hãng gọi cpu0 ->cpu3 đối với 4 nhân, hoặc gọi cpu0 ->cpu4 ->cpu6 đối với 6, 8 hoặc 16 nhân.
Ví dụ: gọi cpu0 trong rc.local
Vào terminal -> htop thấy cpu4 cũng được gọi dùng
Mục đích chúng ta đặt ra là thiết bị chạy mượt và không bị quá nhiệt, thông thường thì hạ xung xuống 1/2 và số cpu cũng giảm xuống, rồi từ từ sử dụng dựa vào sensor đo nhiệt độ và tìm các xung, số nhân phù hợp. Ví dụ cách hạ như sau:
Xem các xung của nhân để thiết lập
$ cpufreq-info
$ nano /etc/rc.local
cpufreq-set --cpu 0 -d 475000 -u 475000 -g powersave
Sẽ gọi cpu0 và cpu4
$ nano /etc/init.d/cpufrequtils
Sửa dòng:
ENABLE="true"
GOVERNOR=powersave"
MAX_SPEED="0"
MIN_SPEED="0"
$ nano /etc/cpufreqd.conf
Chỉ dùng powersave và conservative, đại khái là:
[Profile]
name=Powersave High
minfreq=1100000
maxfreq=1100000
policy=powersave
[/Profile]
[Profile]
name=Powersave Medium
minfreq=1000000
maxfreq=1000000
policy=powersave
[/Profile]
[Profile]
name=Powersave Low
minfreq=475000
maxfreq=475000
policy=powersave
[/Profile]
[Profile]
name=Conservative High
minfreq=475000
maxfreq=1300000
policy=conservative
[/Profile]
[Profile]
name=Conservative Low
minfreq=475000
maxfreq=860000
policy=conservative
[/Profile]
##
# Basic states
##
[Rule]
name=AC Off -High Power
ac=off # (on/off)
#battery_interval=70-100
cpu_interval=70-90
#exec_post=echo 5 > /proc/acpi/sony/brightness
profile=Conservative Low
[/Rules]
[Rule]
name=AC Off -Medium Power
ac=off # (on/off)
#battery_interval=70-100
cpu_interval=50-70
#exec_post=echo 5 > /proc/acpi/sony/brightness
profile=Powersave High
[/Rules]
[Rule]
name=AC Off -Low Battery
ac=off # (on/off)
#battery_interval=0-30
cpu_interval=0-70
#exec_post=echo 3 > /proc/acpi/sony/brightness
profile=Conservative High
[/Rules]
##
# Special Rules
##
#CPU Too hot!
[Rule]
name=CPU Too Hot
#acpi_temperature=55-100
#battery_interval=0-100
tau_temperature=60-90
cpu_interval=90-100
profile=Powersave Low
[/Rules]
[Rule]
name=Movie Watcher
ac=off
programs=mplayer,mpv,RetroArch,dosbox,QEMU,xbmc,vcmi
#battery_interval=0-100
#acpi_temperature=0-60
tau_temperature=0-60
cpu_interval=0-90
profile=Powersave Medium
[/Rule]
Dùng rc.local để gọi nhân theo cách thủ công, cpufrequtils để bắt buộc linux chạy theo số nhân và xung theo rc.local. cpufreqd là thay đổi xung theo tình trạng pin, nhiệt và xung của nhân
Cài thêm cpufreq-indicator, hoặc các phần mềm hiển thị thông số cpu trên desktop. Hoặc cpufreq-info, cpufreqd-get, cài và config conky theo rpi3 của novaspirit
https://www.novaspirit.com/2017/02/23/desktop-widget-raspberry-pi-using-conky/
Chỉnh thông số swappiness và vfs_cache_pressure trong terminal
$ cat /proc/sys/vm/swappiness
$ cat /proc/sys/vm/vfs_cache_pressure
$ cat /proc/sys/vm/dirty_background_ratio
$ cat /proc/sys/vm/dirty_ratio
$ cat /proc/sys/vm/dirty_background_bytes
$ cat /proc/sys/vm/dirty_bytes
$ cat /proc/sys/vm/min_free_kbytes
$ sudo systcl -w vm.swappiness=100 #giá trị thay đổi từ 0 đến 100, mặc định là 60
$ sudo systcl -w vm.vfs_cache_pressure=1 #giá trị thay đổi từ 0 đến 500, mặc định là 100
$ sudo sysctl -w vm.dirty_background_ratio=70 #giá trị thay đổi từ 1 đến 10, mặc định là 10
$ sudo sysctl -w vm.dirty_ratio=90 #giá trị thay đổi từ 20 đến 50, mặc định là 20
$ sudo sysctl -w vm.dirty_background_bytes=16777216 #mặc định là 0
$ sudo sysctl -w vm.dirty_bytes=33554432
$ sudo sysctl -w vm.min_free_kbytes=32768
$ sudo sysctl -w vm.panic_on_oom=1
$ sudo sysctl -w kernel.panic=5
$ sudo sysctl -w vm.overcommit_memory=0
$ sudo sysctl -w vm.drop_caches=3
$ nano /etc/sysctl.conf
vm.swappiness=20
vm.vfs_cache_pressure=80
vm.min_free_kbytes=32768
vm.dirty_background_bytes=16777216
vm.dirty_bytes=33554432
vm.dirty_background_ratio=70
vm.dirty_ratio=90
vm.drop_caches=3
vm.panic_on_oom=1
kernel.panic=5
vm.overcommit_memory=0
vm.dirty_writeback_centisecs=2000
vm.dirty_expire_centisecs=1000
vm.lowmem_reserve_ratio=256 32 32
vm.oom_kill_allocating_task=1
vm.oom_dump_tasks=0
vm.page-cluster=0
vm.stat_interval=10
vm.compact_unevictable_allowed=0
kernel.sched_child_runs_first=1
kernel.sched_tunable_scaling=0
kernel.sched_latency_ns=18000000
kernel.sched_min_granularity_ns=1500000
kernel.sched_nr_migrate=2
kernel.sched_wakeup_granularity_ns=3000000
net.ipv4.tcp_ecn=1
net.ipv4.tcp_syncookies=0
net.ipv4.tcp_timestamps=0
$ sudo sysctl -p
Hiển thị nhiệt độ cpu ARM trong conky mỗi hãng mỗi khác:
Rpi: $ vcgencmd measure_temp
${exec /opt/vc/bin/vcgencmd measure_temp | cut -c6-9} #conky
ARM mainline kernel: $ cat /sys/devices/platform/hwmon/hwmon0/temp_input1
${hwmon 0 temp 1} #conky
Tegra: $ cat /sys/devices/platform/tegra-i2c.4/i2c-4/4-004c/temperature
${exec cat /sys/devices/platform/tegra-i2c.4/i2c-4/4-004c/ex_temperature} #conky
Chỉnh CPU frequency scaling về 80% up_threshold tham khảo
https://wiki.alpinelinux.org/wiki/CPU_farequency_scaling
Optimize ondemand governor:
https://forum.xda-developers.com/showthread.php?t=1778975
[***]Recommand config:
$ nano /etc/local.d/cpufreq.start
#!/bin/sh
# Set the governor to ondemand for all processors
for cpu in /sys/devices/system/cpu/cpufreq/policy*; do
echo ondemand > ${cpu}/scaling_governor
done
# Reduce the boost threshold to 95%
echo 95 > /sys/devices/system/cpu/cpufreq/ondemand/up_threshold
# Reduce the boost ignore_nice_load to 0
echo 0 > /sys/devices/system/cpu/cpufreq/ondemand/ignore_nice_load
# Reduce the boost io_is_busy to 1
echo 1 > /sys/devices/system/cpu/cpufreq/ondemand/io_is_busy
# Reduce the boost powersave_bias to 0
echo 0 > /sys/devices/system/cpu/cpufreq/ondemand/powersave_bias
# Reduce the boost sampling_down_factor to 10
echo 10 > /sys/devices/system/cpu/cpufreq/ondemand/sampling_down_factor
# Reduce the boost sampling_rate to 40000
echo 40000 > /sys/devices/system/cpu/cpufreq/ondemand/sampling_rate
Battery config:
$ nano /etc/local.d/cpufreq.start
#!/bin/sh
# Set the governor to ondemand for all processors
for cpu in /sys/devices/system/cpu/cpufreq/policy*; do
echo ondemand > ${cpu}/scaling_governor
done
# Reduce the boost threshold to 95%
echo 95 > /sys/devices/system/cpu/cpufreq/ondemand/up_threshold
# Reduce the boost ignore_nice_load to 1
echo 1 > /sys/devices/system/cpu/cpufreq/ondemand/ignore_nice_load
# Reduce the boost io_is_busy to 1
echo 1 > /sys/devices/system/cpu/cpufreq/ondemand/io_is_busy
# Reduce the boost powersave_bias to 0 for minimum processor frequency
echo 0 > /sys/devices/system/cpu/cpufreq/ondemand/powersave_bias
# Reduce the boost sampling_down_factor to 4 for battery life
echo 4 > /sys/devices/system/cpu/cpufreq/ondemand/sampling_down_factor
# Reduce the boost sampling_rate to 120000 for battery life
echo 120000 > /sys/devices/system/cpu/cpufreq/ondemand/sampling_rate
Aggressive config
$ nano /etc/local.d/cpufreq.start
#!/bin/sh
# Set the governor to ondemand for all processors
for cpu in /sys/devices/system/cpu/cpufreq/policy*; do
echo ondemand > ${cpu}/scaling_governor
done
# Reduce the boost threshold to 85%
echo 85 > /sys/devices/system/cpu/cpufreq/ondemand/up_threshold
# Reduce the boost ignore_nice_load to 0
echo 0 > /sys/devices/system/cpu/cpufreq/ondemand/ignore_nice_load
# Reduce the boost io_is_busy to 1
echo 1 > /sys/devices/system/cpu/cpufreq/ondemand/io_is_busy
# Reduce the boost powersave_bias to 100 for minimum processor frequency
echo 100 > /sys/devices/system/cpu/cpufreq/ondemand/powersave_bias
# Reduce the boost sampling_down_factor to 1
echo 1 > /sys/devices/system/cpu/cpufreq/ondemand/sampling_down_factor
# Reduce the boost sampling_rate to 30000
echo 30000 > /sys/devices/system/cpu/cpufreq/ondemand/sampling_rate
Balanced config
$ nano /etc/local.d/cpufreq.start
#!/bin/sh
# Set the governor to ondemand for all processors
for cpu in /sys/devices/system/cpu/cpufreq/policy*; do
echo ondemand > ${cpu}/scaling_governor
done
# Reduce the boost threshold to 90%
echo 90 > /sys/devices/system/cpu/cpufreq/ondemand/up_threshold
# Reduce the boost ignore_nice_load to 1
echo 1 > /sys/devices/system/cpu/cpufreq/ondemand/ignore_nice_load
# Reduce the boost io_is_busy to 1
echo 1 > /sys/devices/system/cpu/cpufreq/ondemand/io_is_busy
loo
# Reduce the boost powersave_bias to 100 for minimum processor frequency
echo 100 > /sys/devices/system/cpu/cpufreq/ondemand/powersave_bias
# Reduce the boost sampling_down_factor to 2
echo 2 > /sys/devices/system/cpu/cpufreq/ondemand/sampling_down_factor
# Reduce the boost sampling_rate to 50000
echo 50000 > /sys/devices/system/cpu/cpufreq/ondemand/sampling_rate
UBUNTU:
conservative governor:
down_threshold=20
freq_step=5
ignore_nice_load=0
sampling_down_factor=1
sampling_rate=300000
sampling_rate_min=200000
up_threshold=80
ondemand governor:
ignore_nice_load=0
io_is_busy=0
powersave_bias=0
sampling_down_factor=1
sampling_rate=300000
sampling_rate_min=30000
up_threshold=95
interactive governor:
above_hispeed_delay=20000
boost=0
boost_factor=0
go_hispeed_load=85
go_maxspeed_load=85
hispeed_freq=1300000
input_boost=0
io_is_busy=0
max_boost=0
min_sample_time=30000
sustain_load=0
timer_rate=20000